When I first started diving into cybersecurity, especially the world of Identity and Access Management (IAM), I figured out right away that Active Directory (AD) isn't going anywhere.
Even as companies move to the cloud with tools like Entra ID and Okta, on-prem Active Directory remains the backbone of how many organizations operate. It handles user authentication, access control, group policy, file sharing… you name it. Simply put, if you want to understand how businesses manage their identities of various sorts and what they have access to and secure their systems from a centralized point of view, you need to understand AD.
But what is the most effective way to get experience with AD for those wanting to work in environments managed by it? For starters, you could create your own virtualized enterprise environment. By replicating real-world AD implementations in a home lab, you gain hands-on experience with the same technologies and challenges you'll encounter in production environments, bridging the gap between theoretical knowledge and practical application.
This guide is part one of a hands-on lab series I created to replicate what you'd find in a real company: a domain controller, Windows clients, users, groups, GPOs, shared folders, and more. I'm running everything on VMware Workstation Pro 17 on my Windows 11 machine allowing me to experiment freely and build a deeper understanding of AD and the cloud.
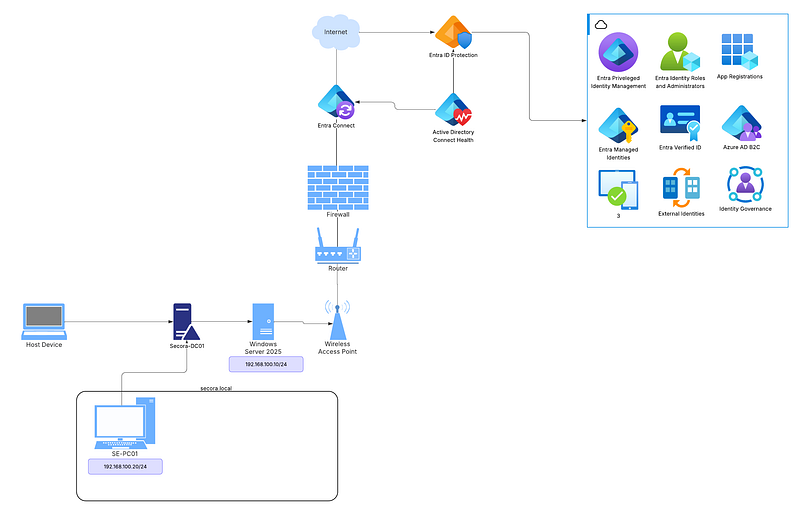
Lab Scenario: To make this lab more realistic, I created a fictional company called Secora, a cybersecurity startup that's building out its internal IT infrastructure from scratch. You are the system administrator tasked with building out the AD environment for Secora.
What You'll Need
Software
- VMware Workstation Pro 17
- Windows Server 2025 ISO
- Windows 10/11 ISO (optional, for client machines)
Hardware Requirements
- Windows 11 host PC
- 8 GB RAM minimum (16 GB recommended)
- 40 GB of free disk space
- Virtualization enabled in BIOS
Step-by-Step: Install Windows Server 2025 in VMware
Step 1: Create a New Virtual Machine
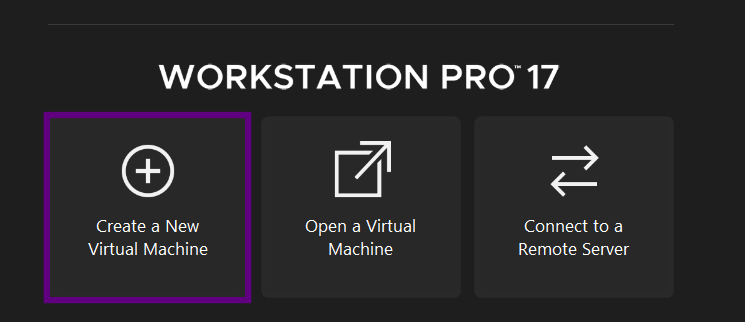
- Open VMware Workstation Pro and click Create a New Virtual Machine
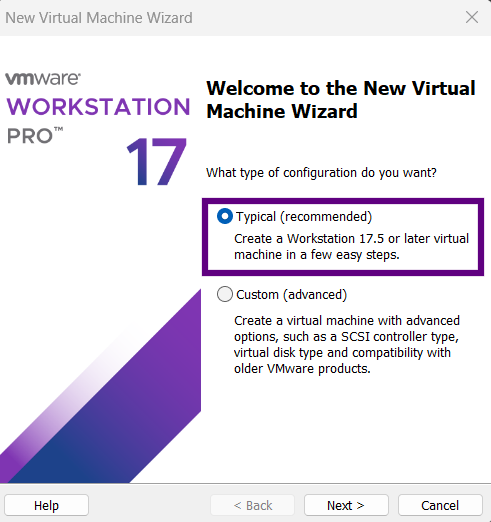
- Select Typical (recommended) and click Next
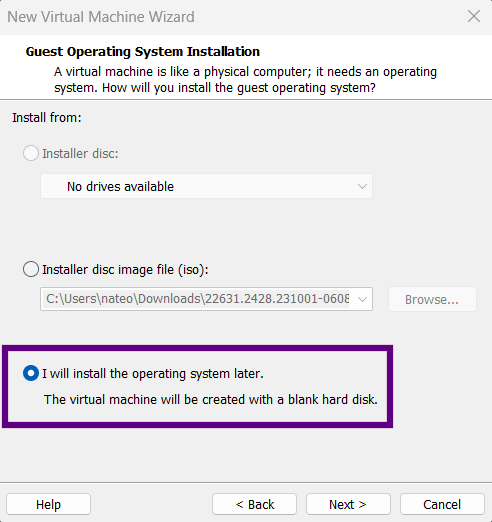
- Choose "I will install the operating system later"
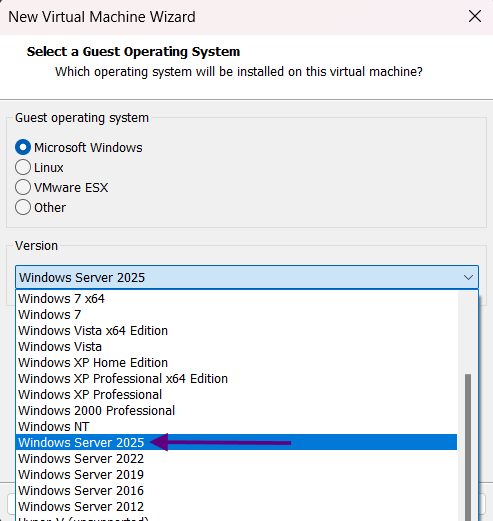
- Select Microsoft Windows → Windows Server 2025
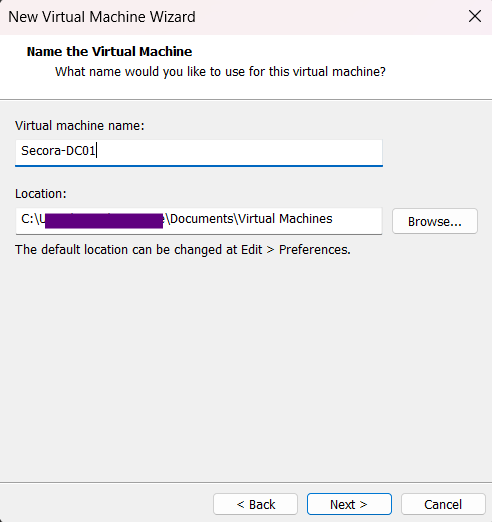
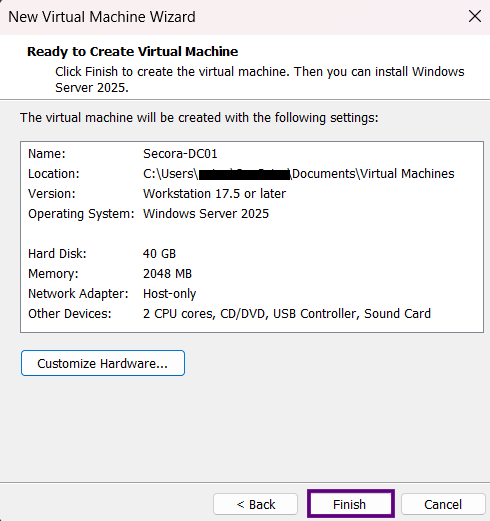
- Name your VM (e.g.,
Secora-DC01) and choose a location - Set the disk size to 40 GB and store as a single file
- Memory: 2 GB (4 GB recommended)
- Processors: 2 cores
- CD/DVD (SATA): Choose "Use ISO image file" and locate your Windows Server 2025 ISO
- Subnet IP: 192.168.100.0/24
- Domain Controller (Secora-DC01): 192.168.100.10
- Future client machines: 192.168.100.20-50
- DHCP scope: 192.168.100.100-200
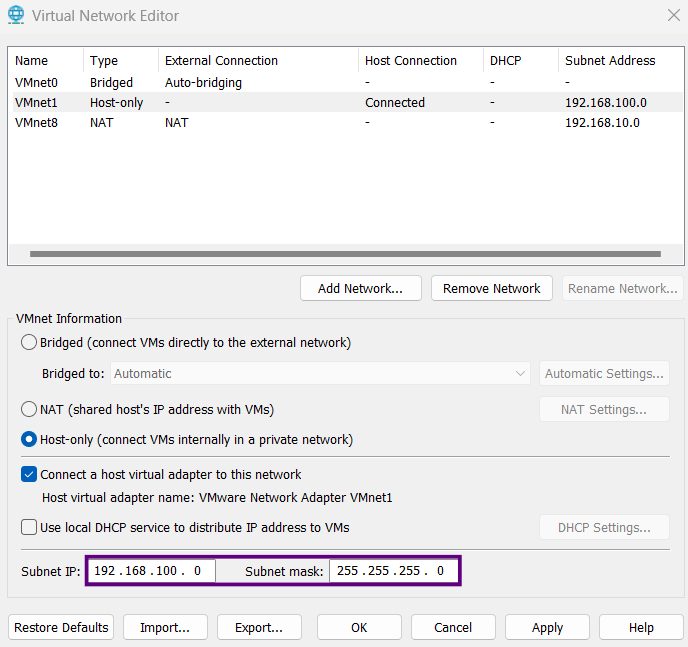
- Navigate to Edit → Virtual Network Editor → Change Settings → "Yes"
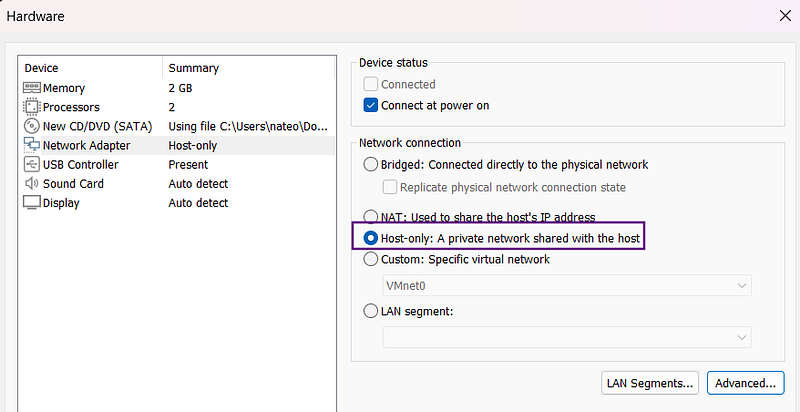
- Click on type "Host-Only"
- Verify the subnet IP is
192.168.100.0 - Complete isolation from your home network
- No interference from external DHCP servers
- Perfect for security testing scenarios
- All VMs can communicate with each other
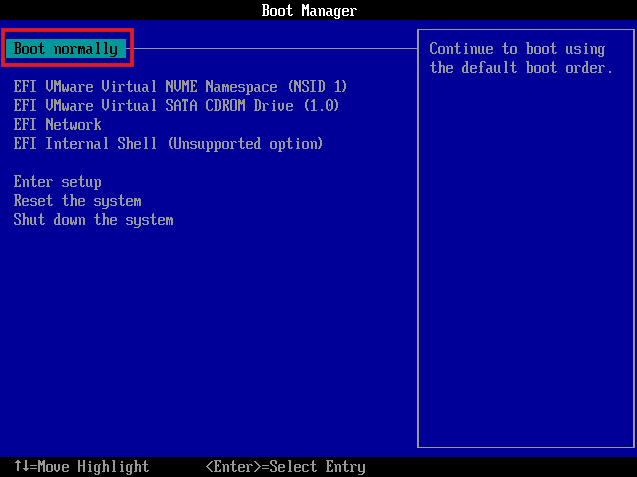
- Power on the VM and press any key to boot from the ISO
- If prompted with boot options, select "Boot Normally" and press any key immediately
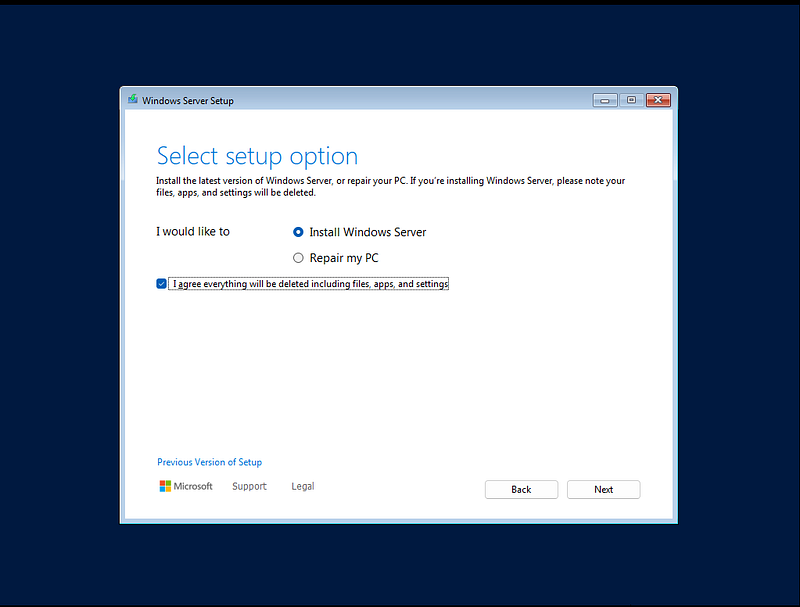
- In the setup wizard, choose "Install Windows Server" and click Next
- Accept the license terms
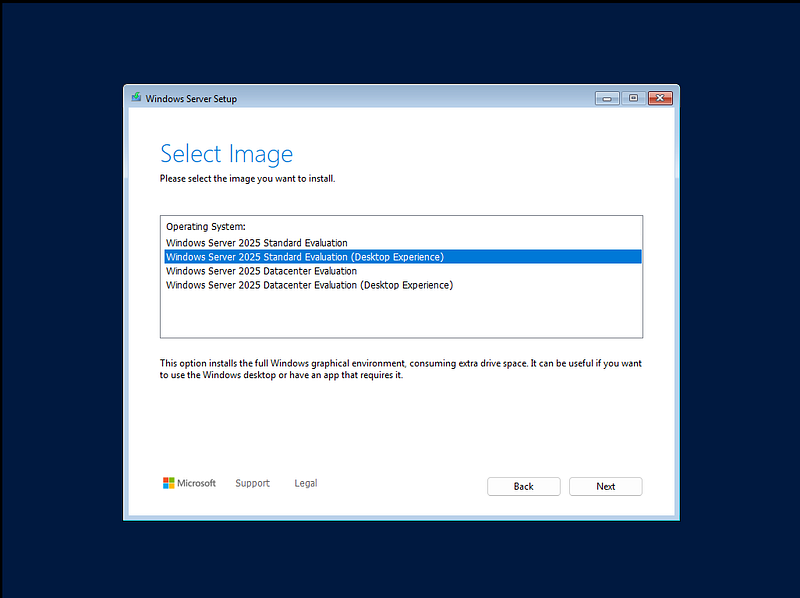
- Select these options:
- Language: English (United States)
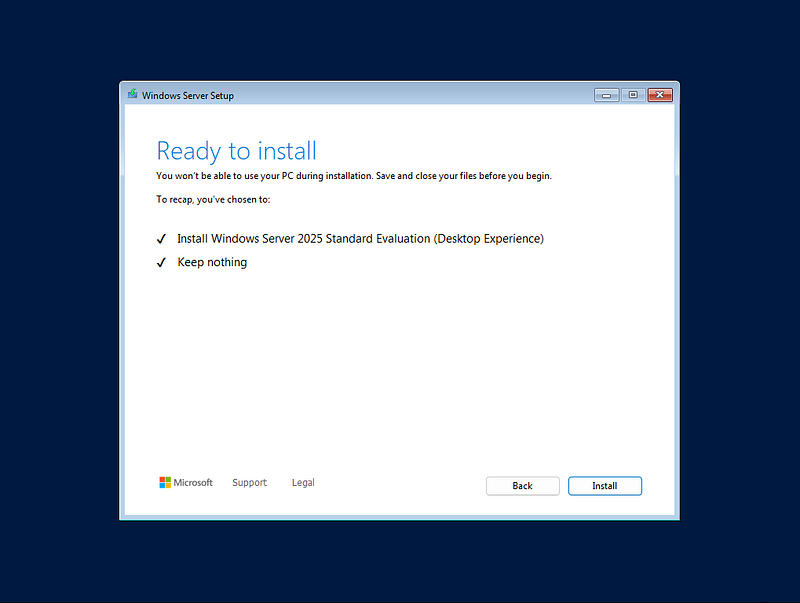
- Edition: Windows Server 2025 Standard (Desktop Experience)
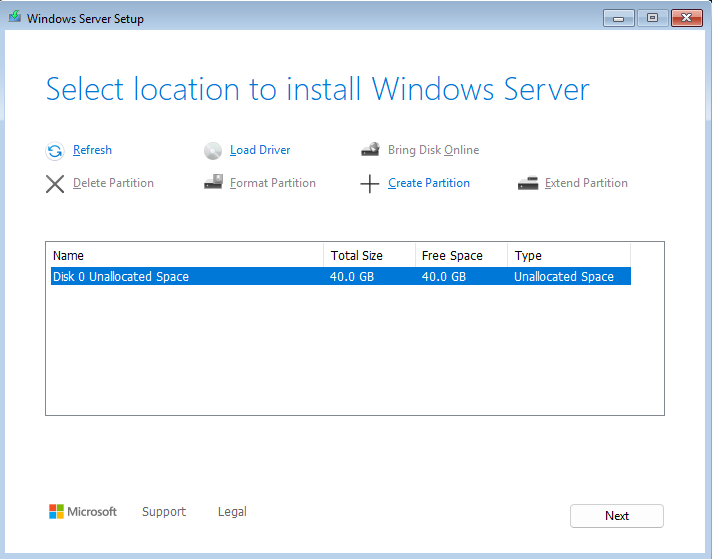
- Use the unallocated space and click Next on the drive window
- Click Install to begin
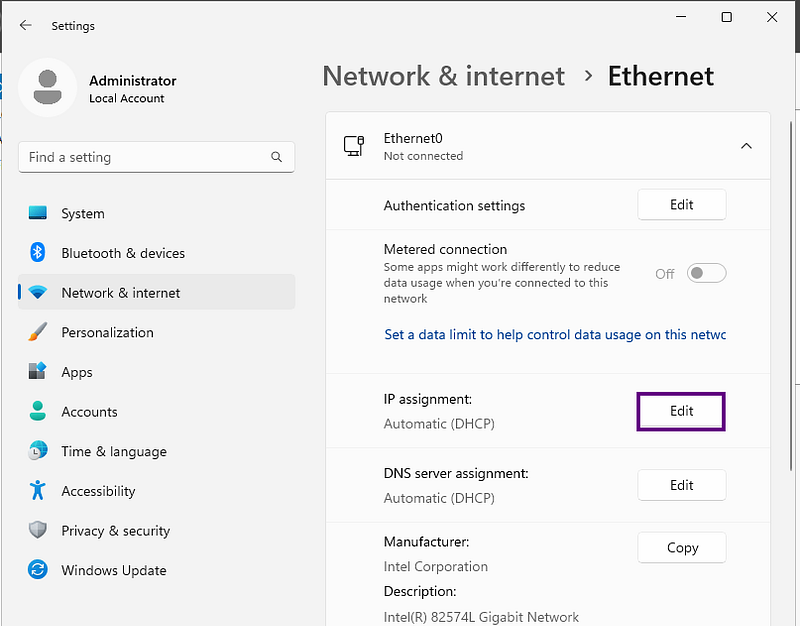
- Go to Settings → Network & Internet → Ethernet
- Click IP assignment → Edit
- Configure the following:
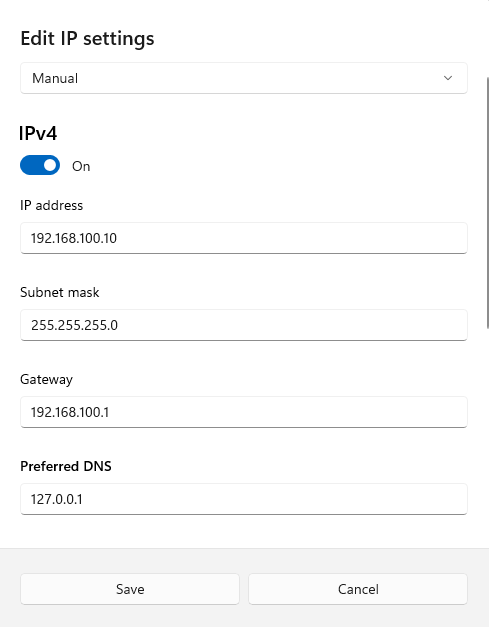
- IP: 192.168.100.10
- Subnet: 255.255.255.0
- Gateway: 192.168.100.1
- Preferred DNS: 127.0.0.1
- Alternate DNS: 8.8.8.8
Why 127.0.0.1 for DNS? The DC will become the DNS server for our domain, so it needs to point to itself for DNS resolution. The alternate DNS (8.8.8.8) provides internet name resolution for updates.
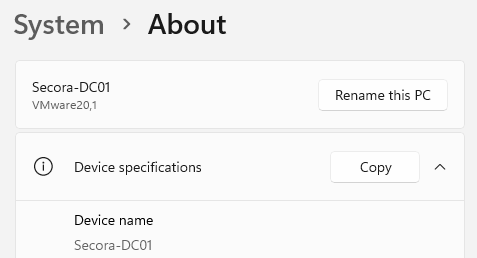
Step 5: Rename the Server
- Go to System → About (scroll to bottom)
- Click Rename this PC
- Enter:
Secora-DC01 - Click Next → Restart when prompted
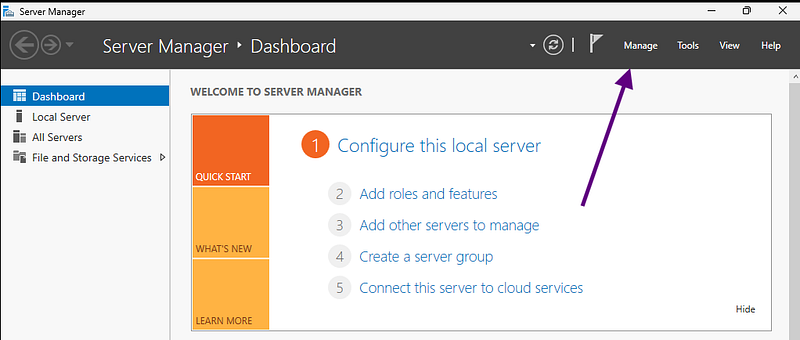
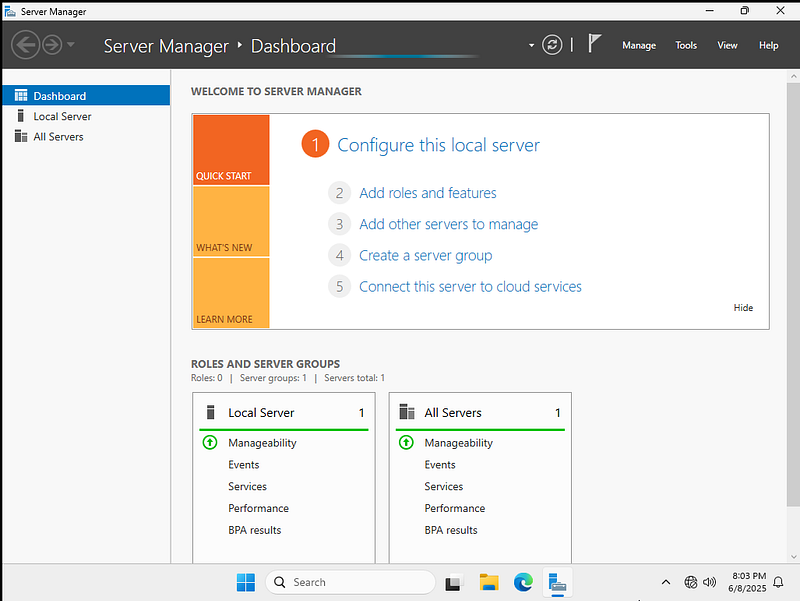
- Open Server Manager
- Click Manage (top right) → Add Roles and Features
- Click Next on the "Before you begin" page
- Keep "Role-based or feature-based installation" checked, click Next
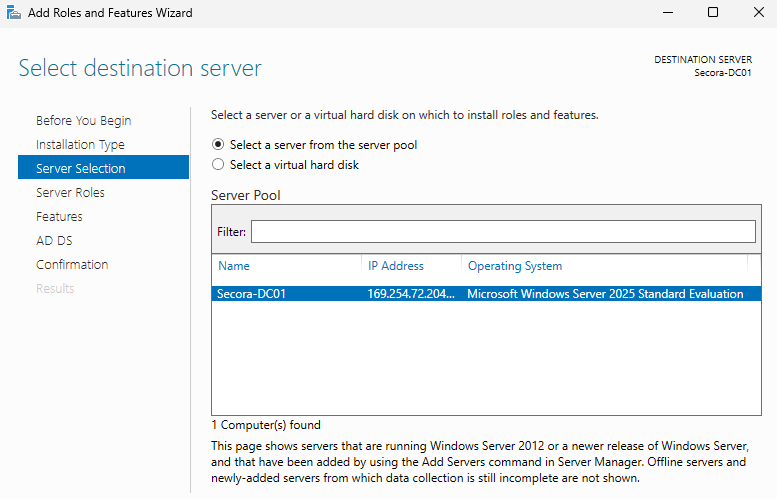
- Select the local server:
Secora-DC01 - Under Server Roles, check Active Directory Domain Services
- Click "Add Features" when prompted
- Click Next through the wizard and click Install
- When installation completes, click "Promote this server to a domain controller"
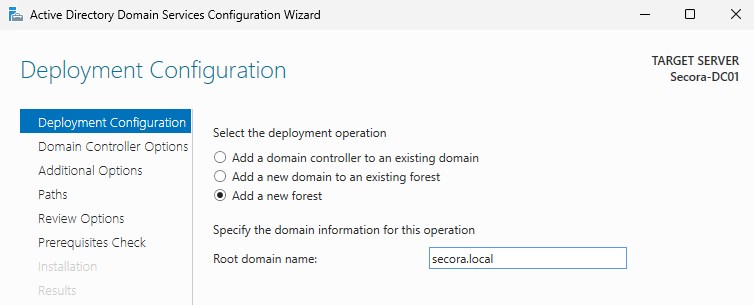
- Choose "Add a new forest"
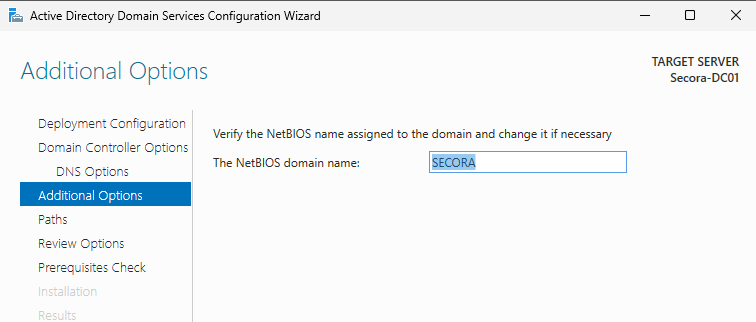
- Enter root domain name:
secora.local - Keep the default settings and set a DSRM password (you can use the same as your Administrator password for simplicity)
- Click Next through DNS and NetBIOS settings
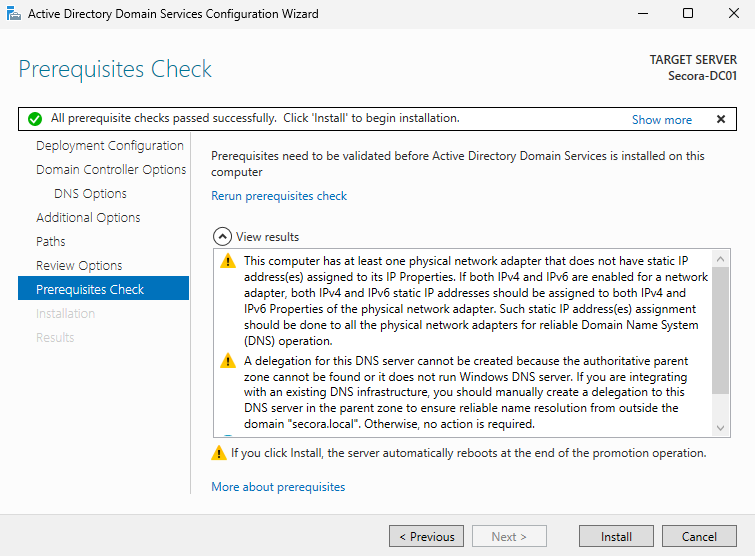
- You'll see a warning about DNS delegation — ignore it (this appears because we're creating a new forest, not joining an existing one)
- Confirm prerequisites are met and click Install
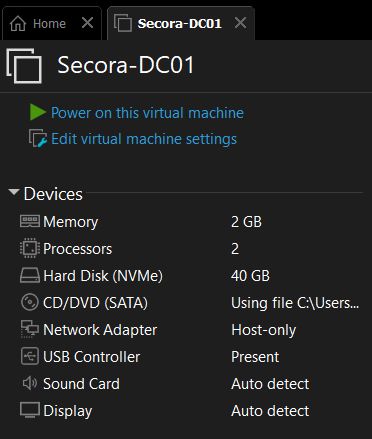
- Fully installed Windows Server 2025 VM
- Configured static IP address and hostname (Secora-DC01)
- Installed AD Domain Services
- Created domain:
secora.local - Promoted server to Domain Controller
- Organize departments using Organizational Units (OUs)
- Create users and security groups
- Build and apply Group Policy Objects (GPOs)
- Join client machines to our AD domain
Installing Active Directory Domain Services
Step 6: Install the Active Directory Tools


What we're doing: We're installing the AD DS binaries and management tools, but we haven't created a domain yet. That's the next step.
Step 7: Promote the Server to a Domain Controller

Why .local? It's a reserved TLD that won't conflict with internet domains, making it ideal for isolated lab environments.
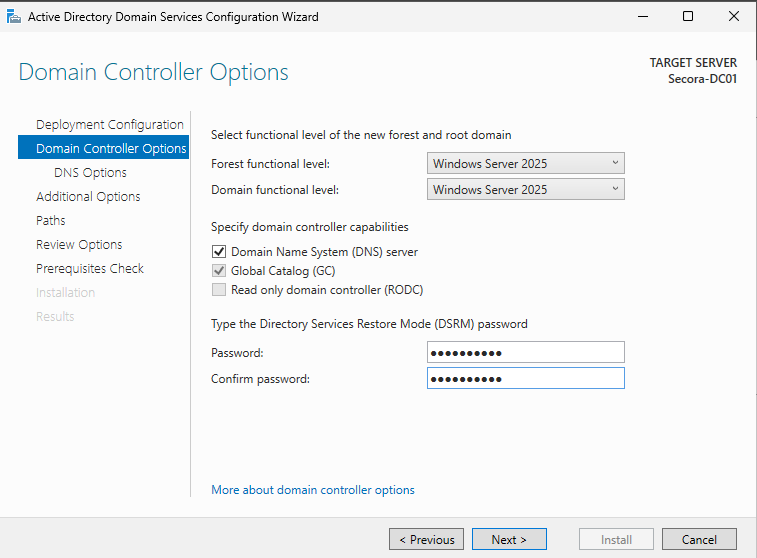
DSRM (Directory Services Restore Mode): This is used for AD recovery scenarios. Store this password securely.
The server will restart automatically. Log in as
SECORA\Administrator.What We've Accomplished
Coming in Part 2: OUs, Users, Groups & GPOs
In the next part of this lab series, we'll:
We'll also begin tying everything into real-world identity and access scenarios, just like you'd see in a modern enterprise.
Part 2 is available: Part 2 — Active Directory Structure Foundation
Questions or Feedback?
Feel free to connect with me on LinkedIn or reach out via email. I'd love to hear about your home lab journey!
×
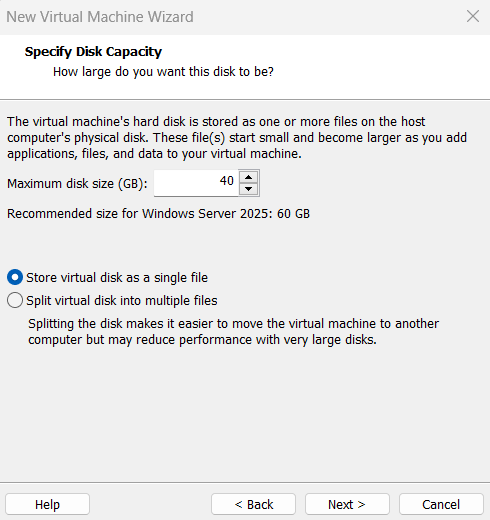
Note: 32 GB is the absolute minimum, but 40 GB provides comfortable headroom for future expansion and Windows updates.
Step 2: Configure Hardware Settings
Click Customize Hardware and configure the following:

Network Configuration
For our Secora lab, we're using Host-Only networking with the following setup:
Configure the virtual network:
Why Host-Only?
Important: We'll add a second NAT adapter later when we need Internet access and to setup our DHCP server for domain-joined client workstations.
Click Close, then Finish to create the VM.
Step 3: Install Windows Server 2025
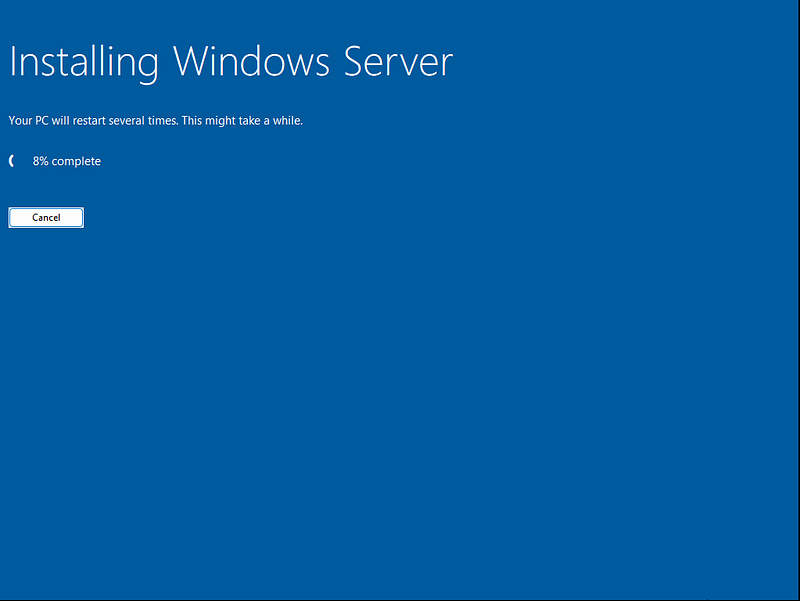
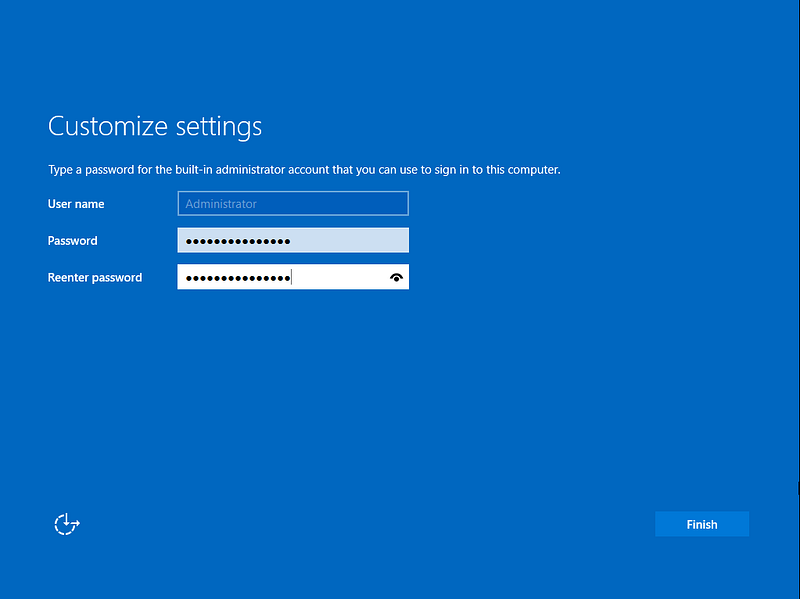
Allow the installation to complete. When prompted, set a password for the built-in Administrator account.
Security Note: The built-in administrator account will be disabled later. Disabling the default Administrator account adds an extra layer of protection against brute-force or lateral movement attacks, as attackers often target this account by default.
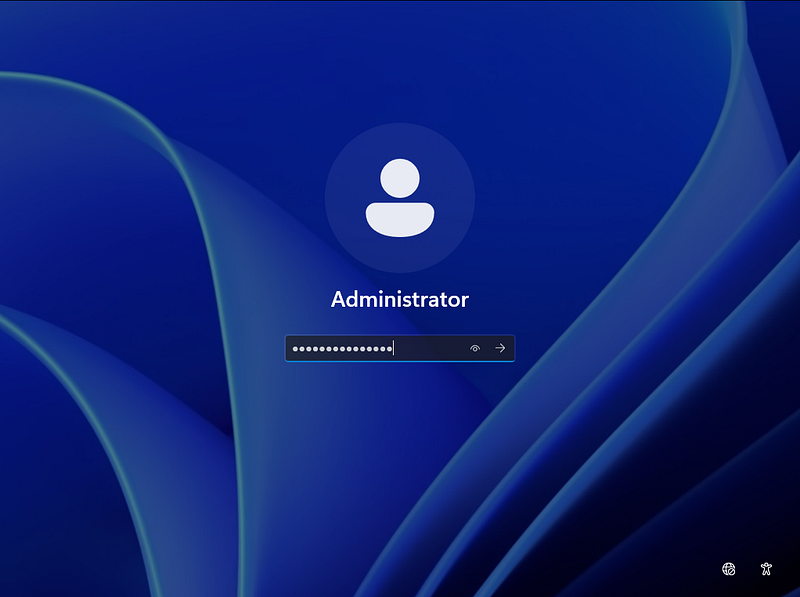
The VM will restart. Log in with the password you just created.
Initial Configuration
Step 4: Set a Static IP Address
To ensure Active Directory doesn't rely on DHCP, we'll set a static IP address and point the DNS server to the DC itself.